Whirlpool Oven Bottom Element Not Working: Explained
Excited to cook up a storm in your reliable Whirlpool oven, you eagerly preheat, but wait! Uh-oh, the bottom heating element seems to be acting up. Before you resign to ordering takeout, don’t panic!
In this handy troubleshooting guide, we’re here to help you identify and solve the problem of your Whirlpool Oven bottom element not working. Whether you’re a seasoned handyman or just someone looking to save some bucks on repairs, we’ve got your back. Let’s jump right in and whip that oven back into shape!
Now, let’s explore some common issues and simple solutions to get your oven up and running in no time.
Heating Elements in Your Whirlpool Oven
To understand how your Whirlpool oven works, it’s essential to grasp the role of its heating elements. These elements are like the powerhouse behind cooking your favorite meals. In your oven, there are typically two main heating elements: the top broil element and the bottom bake element.
- Top Broil Element: This element is situated at the top of the oven cavity. When you select the broil setting, this element kicks into action, radiating intense heat downwards. It’s perfect for quickly browning or crisping the top of your dishes, like when making casseroles or broiling meats.
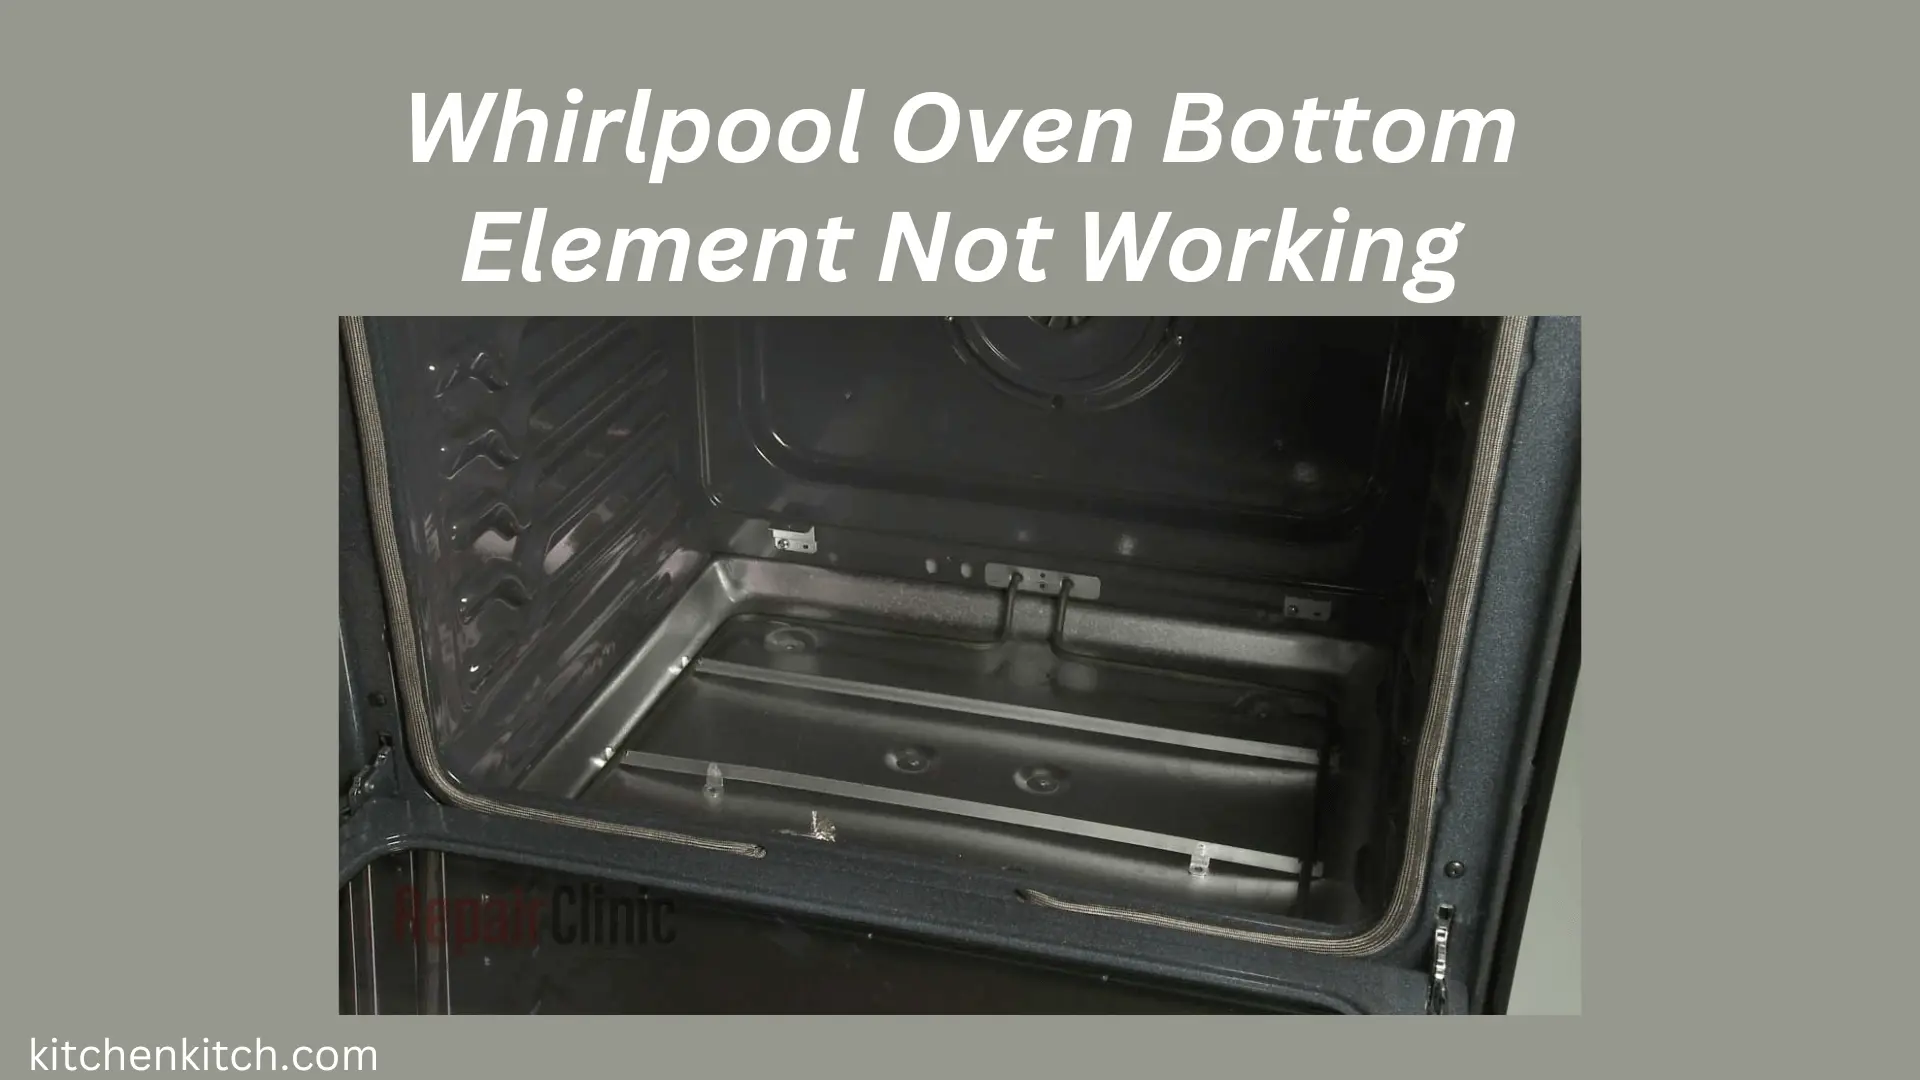
- Bottom Bake Element: As the name suggests, this element is located at the bottom of the oven. When you’re baking or roasting, the bottom bake element is the star of the show. It heats up to the desired temperature, providing consistent heat from below, ensuring your cakes rise evenly and your roasts cook to perfection.
Understanding how these elements function is crucial for troubleshooting any issues with your oven’s heating. If one of them malfunctions, it can affect your cooking results. Now, let’s delve into some common problems and solutions related to these heating elements.
Why Your Whirlpool Oven’s Bottom Element Isn’t Working?
When your Whirlpool oven’s bottom heating element refuses to cooperate, several factors could be at play. Let’s take a closer look at some possible causes:
- Burned-Out Element: Over time, the bottom heating element can wear out or burn out due to frequent use. If the element is visibly damaged, such as having holes or cracks, it likely needs replacement.
- Faulty Heating Element: Sometimes, the heating element may be faulty even if it appears intact. A multimeter can help test for continuity to determine if the element is functioning correctly.
- Broken Wiring or Connection: Inspect the wiring and connections leading to the bottom heating element. Loose or damaged wires can disrupt the flow of electricity, causing the element to malfunction.
- Tripped Circuit Breaker or Blown Fuse: Check your home’s electrical panel to see if the circuit breaker has tripped or if a fuse has blown. Reset the breaker or replace the fuse if necessary.
- Control Board Malfunction: If none of the above issues are present, the problem may lie with the oven’s control board. A malfunctioning control board can prevent the bottom heating element from receiving power.
By systematically checking these potential causes, you can pinpoint the issue with your Whirlpool oven’s bottom heating element and take appropriate action to resolve it. Always prioritize safety above all else when troubleshooting electrical appliances. If uncertainty or discomfort arises during any step, it is advisable to seek professional assistance promptly.
How to Fix Whirlpool Oven Bottom Element Not Working?
Here’s a step-by-step troubleshooting guide to help you fix your Whirlpool oven’s bottom heating element:
Safety First: Before you start troubleshooting, ensure the oven is unplugged or the circuit breaker is turned off to prevent any accidents.
Visual Inspection: Carefully examine the bottom heating element for any visible signs of damage, such as cracks, breaks, or burn marks. If you notice any damage, the element likely needs to be replaced.
Check for Continuity: Use a multimeter to test the continuity of the bottom heating element. Adjust the multimeter to the ohms mode and connect the probes to either end of the component. The absence of continuity suggests a defective heating element necessitating replacement.
Inspect Wiring and Connections: Inspect the wires and connections leading to the bottom heating element. Inspect for any loose or impaired wires that might be leading to a subpar connection. Secure any slack connections and substitute any wires that are damaged.
Test Circuit Breaker or Fuse: Check the circuit breaker in your home’s electrical panel to see if it has tripped. If so, reset the breaker. Alternatively, check if the fuse has blown and replace it if necessary.
Reset Oven Control Board: Sometimes, resetting the oven control board can resolve issues with the heating elements. Refer to your oven’s manual for instructions on how to reset the control board.
Professional Assistance: If you’ve tried the above steps and still can’t get the bottom heating element to work, it may be time to call a professional technician. They can diagnose the issue accurately and safely repair or replace any faulty components.
By following these steps systematically, you can troubleshoot and resolve the issue with your Whirlpool oven’s bottom heating element not working. You should also know why the Oster Toaster oven button not working.
Maintenance and Preventive Tips
To keep your Whirlpool oven in top condition and minimize the chances of issues like the bottom heating element not working, here are some preventive maintenance tips:
Regular Cleaning: Clean your oven regularly to remove food debris, grease, and spills. Cleanse the interior and exterior surfaces by utilizing a gentle detergent alongside lukewarm water. Avoid using abrasive cleaners that could damage the oven’s finish.
Clean Heating Elements: Periodically inspect and clean the heating elements to ensure they’re free from buildup. Use a soft brush or cloth to gently remove any debris or residue that may accumulate on the elements.
Check Door Seal: Inspect the door seal or gasket for any signs of wear or damage. A tight seal is essential for maintaining proper heat retention and cooking efficiency. Replace the seal if it’s cracked or worn out.
Avoid Overloading: Avoid overloading the oven with too many dishes at once, as this can impede air circulation and lead to uneven cooking. Give each dish enough space for proper heat distribution.
Use Oven Liners: Consider using oven liners or baking mats to protect the bottom of the oven from spills and drips. These liners can be easily removed and cleaned, preventing buildup that could affect the heating elements.
Test Heating Elements: Periodically test the heating elements to ensure they’re functioning properly. Preheat the oven and visually inspect both the top and bottom elements to confirm they’re heating evenly.
Schedule Professional Maintenance: Consider scheduling annual maintenance checks with a qualified technician to inspect and service your oven. They can identify any potential issues early on and perform any necessary repairs or adjustments.
By following these preventive maintenance tips, you can help prolong the life of your Whirlpool oven and ensure it continues to operate efficiently. Regular care and attention can go a long way in preventing issues and maintaining optimal cooking performance.
Conclusion
In conclusion, dealing with a Whirlpool oven’s bottom heating element not working can be frustrating, but with patience and proper troubleshooting, the issue can often be resolved. By following the steps outlined in this guide and practicing preventive maintenance, you can keep your oven in good working condition for years to come. Remember to prioritize safety at all times and seek professional assistance if needed.