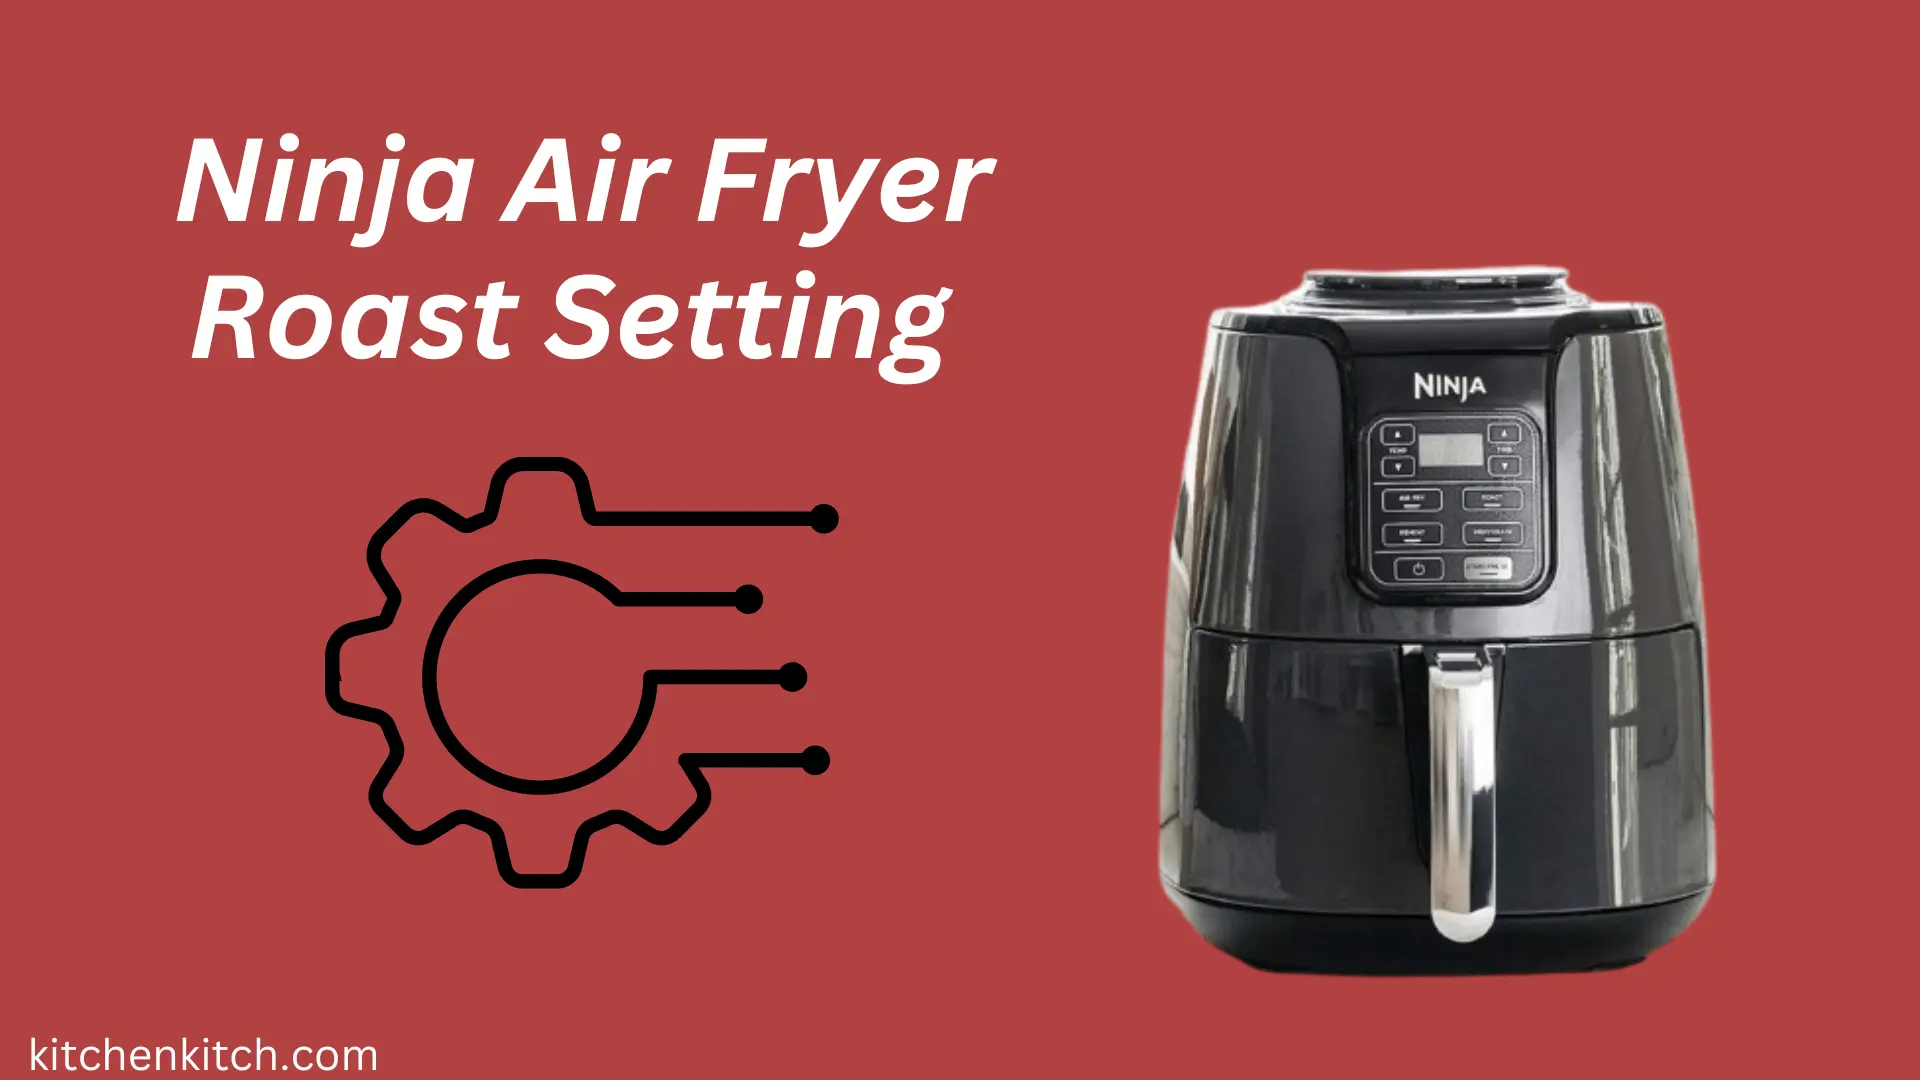
Ninja Air Fryer Roast Setting Guide
The Ninja Air Fryer’s roast setting offers a convenient and efficient way to achieve perfectly roasted dishes with minimal hassle. Whether you’re craving succulent meats, crisp vegetables, or flavorful tofu, mastering this feature can elevate your culinary repertoire.
In this step-by-step guide, we’ll delve into the intricacies of the Ninja Air Fryer roast setting, empowering you to unlock its full potential and create delectable meals with ease. From selecting the ideal temperature and cooking time to maximizing flavor and texture, this comprehensive tutorial will equip you with the knowledge and confidence to become a roast-setting virtuoso.
Unlocking the Magic of the Ninja Air Fryer Roast Setting
Let’s uncover the secret behind the Ninja Air Fryer’s roast setting—it’s not your average cooking option. This feature is like having a mini-oven inside your air fryer, but with a twist. It pumps out hot air at a higher temperature than regular air frying, giving your food that irresistible crispy outside and tender inside, just like traditional roasting.
The roast setting isn’t just about making things crispy; it’s about capturing that special roasted flavor and texture. While air frying can make things crunchy, the roast setting takes it up a notch by adding that golden-brown goodness you’d expect from your oven. Imagine juicy meats with a savory sear and veggies with a satisfying crunch—this setting brings that to life.
Now, let’s talk numbers. The Ninja Air Fryer’s roast setting typically heats things between 350°F to 400°F (175°C to 200°C). But here’s the trick: cooking times vary based on what you’re making and how big it is. Smaller items, like chicken breasts, might only need a short roast, while bigger cuts, like a pork loin, might need a bit more time in the hot seat. Following recipes or guidelines ensures your dishes come out perfectly cooked and bursting with flavor.
Benefits of Ninja Air Fryer Roast Setting
A. Healthier Cooking Made Simple:
One of the best things about the Ninja Air Fryer’s roast setting is how it lets you enjoy crispy dishes without drowning them in oil. By using rapid air circulation and higher temperatures, it achieves that perfect crunch while keeping things light on the oil front. So, you can indulge in your favorite roasted treats guilt-free, knowing you’re cutting down on excess fats. you should also check Kitchenaid refrigerator troubleshooting.
B. Locking in Flavor and Juiciness:
When you roast with the Ninja Air Fryer, you’re not just getting a crispy exterior—you’re also preserving all the tasty juices inside your food. Thanks to the higher temperature and unique cooking method, your meats stay moist and tender, and your veggies retain their natural flavors. Picture biting into a perfectly roasted chicken with crispy skin and juicy meat—it’s like a flavor explosion in every bite.
C. Say Goodbye to Waiting Around:
Gone are the days of spending hours waiting for your food to roast in the oven. With the Ninja Air Fryer’s roast setting, you can have dinner on the table in a fraction of the time. Whether it’s a busy weeknight or you’re just hungry and impatient, this setting speeds up the cooking process without sacrificing quality. So, you can enjoy delicious homemade meals without the long wait times.
Ninja Air Fryer Roast Setting Step-By-Step Guide
- Preheat: Start by preheating your Ninja Air Fryer to the recommended temperature for roasting.
- Prepare Ingredients: Season your meat, vegetables, or other foods with spices and herbs.
- Arrange: Place the food in the air fryer basket in a single layer, making sure not to overcrowd it.
- Cook: Set the air fryer to the roast setting and cook for the recommended time, flipping halfway through.
- Check for Doneness: Use a meat thermometer or fork to check if the food is cooked to your desired level.
Tips and Tricks for Ninja Air Fryer Roast Setting
- Don’t Overcrowd: Make sure there is enough space between your food in the air fryer basket for the hot air to circulate.
- Flip halfway: Flip your food halfway through cooking to ensure it cooks evenly on all sides.
- Use a Meat Thermometer: To ensure your meat is cooked through, use a meat thermometer to check the internal temperature.
Conclusion
In conclusion, mastering the Ninja Air Fryer’s roast setting opens up a world of delicious possibilities in the kitchen. With its ability to achieve perfect roasts with less oil, retain moisture for juicy results, and save time on cooking, this feature truly revolutionizes home cooking. By following the step-by-step guide and expert tips, you can confidently create flavorful and crispy roasted dishes that will delight your taste buds and impress your guests.

