How to Tighten Kitchen Faucet Nut Under the Sink?
Curious about how to tighten the nut on your kitchen faucet under the sink? Dealing with a loose faucet can be a real headache, causing annoying drips, weak water flow, and potentially even damage to your sink over time. But don’t worry, fixing it is simpler than you might think, and you don’t need any special skills. So let’s dive into how to tighten kitchen faucet nut under the sink.
Tools Needed
First things first, gather your tools:
- Flashlight: This will help you see better under the sink where you’ll be working.
- Pliers: You’ll use these to grip and turn certain parts of the faucet.
- Basin wrench: This specialized tool is perfect for reaching and tightening that hard-to-reach nut under the sink.
- Safety goggles: Always important when working with tools to protect your eyes.
- Gloves: These will keep your hands safe and give you a better grip on the tools.
Now that you’ve got your tools ready, let’s dive into the process of tightening that pesky faucet nut!
How to Tighten Kitchen Faucet Nut Under the Sink?
Here are the steps to tighten the kitchen faucet nut under the sink:
- Turn Off Water: Before you start, make sure to turn off the water supply to the faucet. This will prevent any accidental leaks or spills while you’re working.
- Illuminate the Area: Use your flashlight to get a good view of the area under the sink where the faucet connects to the plumbing.
- Put on Safety Gear: Don your safety goggles and gloves to protect your eyes and hands during the process.
- Access the Nut: Locate the nut that holds the faucet in place under the sink. It’s usually a large, hexagonal-shaped nut.
- Use Pliers: Grip the nut firmly with your pliers. Make sure to hold the faucet steady as you turn the nut clockwise to tighten it.
- Check for Tightness: Once you’ve tightened the nut, give the faucet a gentle shake to ensure it’s secure. If it still feels loose, repeat the tightening process until it feels snug.
- Reconnect Water Supply: After you’re satisfied with the tightness, turn the water supply back on and test the faucet to make sure there are no leaks.
- Clean Up: Put away your tools and wipe down any water or debris under the sink to keep the area tidy.
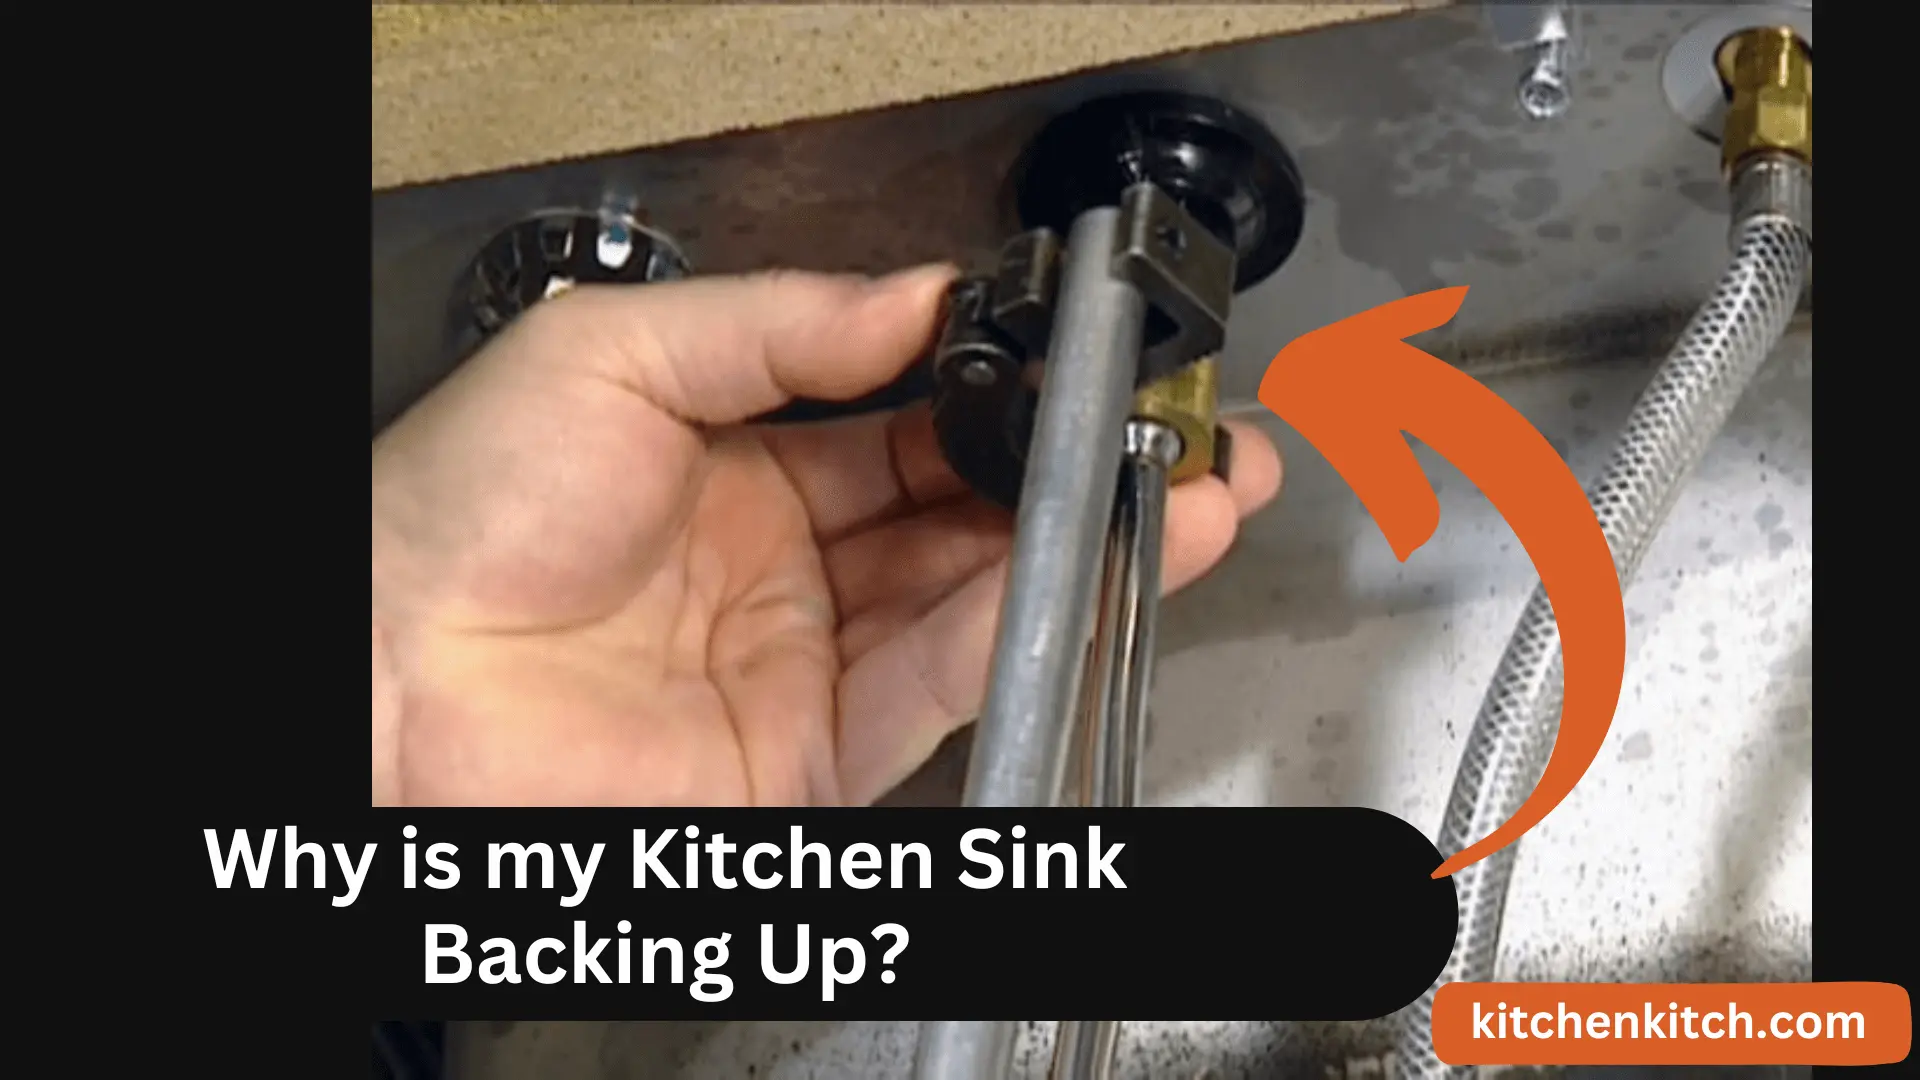
By following these steps, you’ll have your kitchen faucet securely tightened in no time, saving you from the hassle of leaks and low water pressure. You should also know why the kitchen sink is backing up.
Advantages of a Tightened Kitchen Faucet Nut
- Prevents Leaks: A tight faucet nut ensures a secure connection between the faucet and the plumbing, reducing the likelihood of leaks or drips.
- Maintains Water Pressure: When the faucet is securely fastened, it maintains optimal water pressure, allowing for efficient use of water in the kitchen.
- Prevents Sink Damage: A tightly secured faucet prevents unnecessary movement or vibrations, which can lead to wear and tear on the sink’s fixtures and surrounding areas.
- Enhanced Safety: With a tight faucet nut, there’s less risk of sudden movements or dislodgment while using the sink, reducing the chances of accidents or injuries.
Disadvantages of a Loose Kitchen Faucet Nut
- Leakage Issues: A loose faucet nut can result in water leakage, causing water wastage and potentially leading to water damage in the kitchen.
- Reduced Water Pressure: When the nut is loose, it can cause fluctuations in water pressure, resulting in weak water flow from the faucet, which can be frustrating for various kitchen tasks.
- Sink Damage: Continuous movement of a loose faucet can gradually damage the sink and its surrounding area, leading to cracks, chips, or even water damage to cabinets or countertops.
- Potential Safety Hazards: A loose faucet poses a safety hazard as it may unexpectedly detach or cause water to spray uncontrollably, increasing the risk of slips, falls, or electrical hazards if water reaches nearby outlets.
Conclusion
In conclusion, ensuring that the kitchen faucet nut is securely tightened under the sink is essential for preventing leaks, maintaining water pressure, and safeguarding against potential damage and safety hazards. By regularly checking and tightening the nut as needed, you can enjoy a reliable and efficient kitchen sink experience, free from the inconvenience and risks associated with a loose faucet.